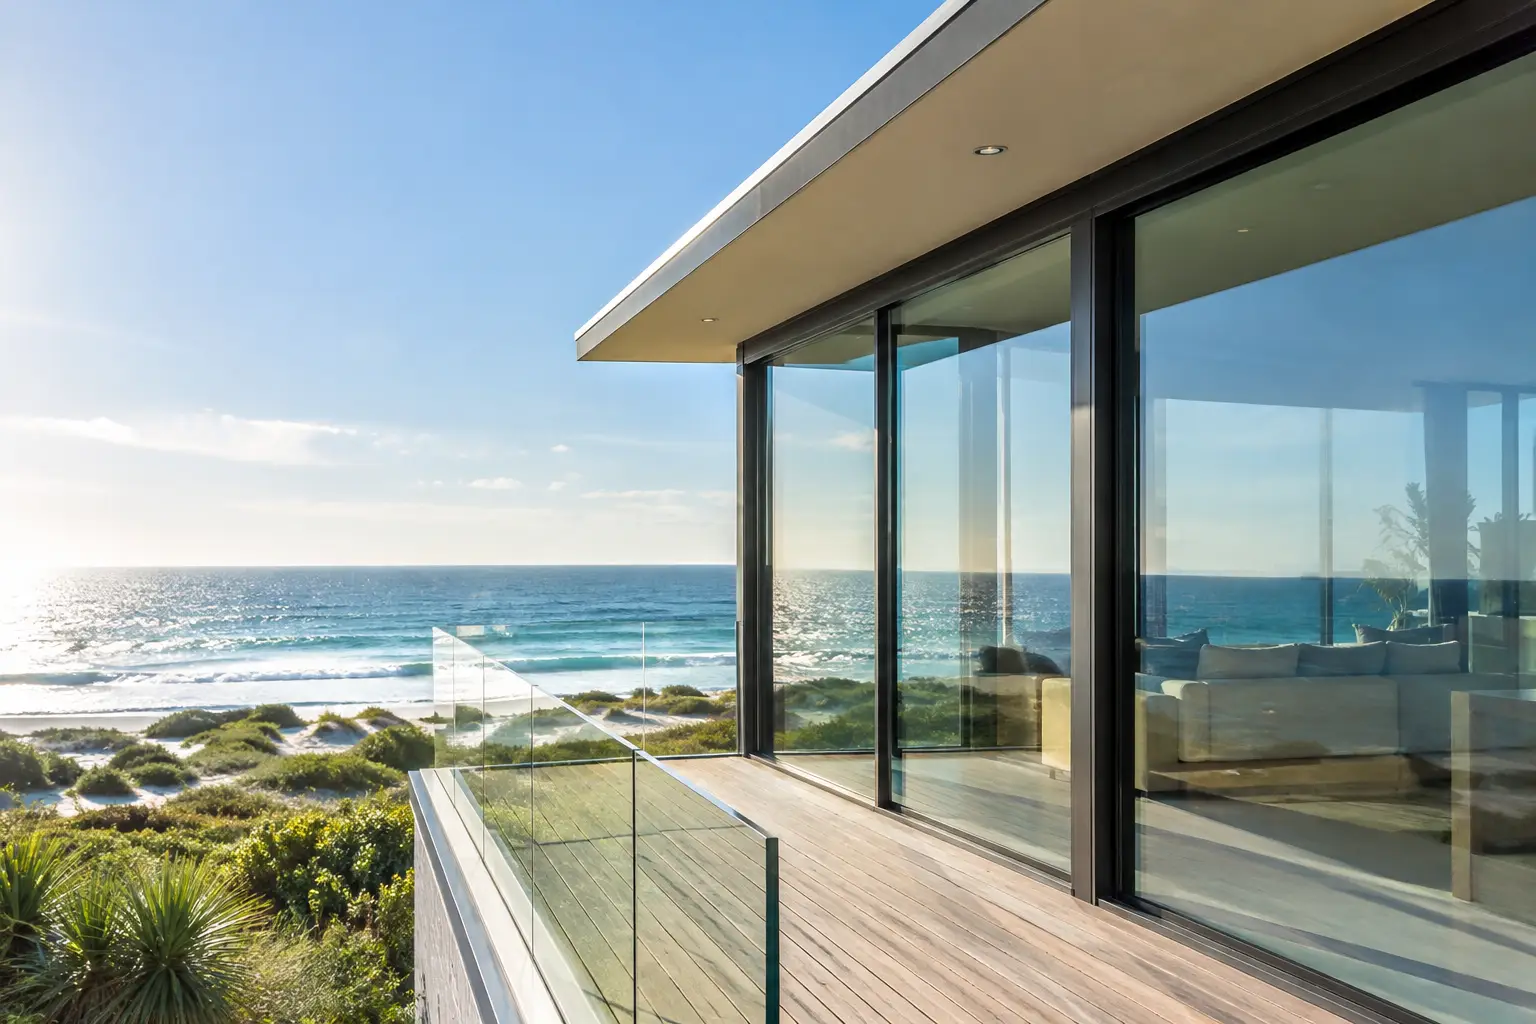
A glass canopy is often one of the first architectural details a guest experiences: a clear, finely proportioned plane floating above an entry, terrace door, or exterior passage. Yet a glass canopy installation guide should begin with a less visible truth. Its success depends far more on structural engineering, wall conditions, water management, and precise fabrication than on the glass alone.
For coastal Southern California homes, that distinction matters. Salt air, strong sun, occasional wind-driven rain, stucco and stone cladding, and demanding visual standards all place pressure on a canopy system. A beautiful design can become a costly liability when its anchors, slope, sealants, or glass specification are treated as afterthoughts.
Start With the Architecture and the Load Path
The first question is not whether the canopy should use rods, brackets, or a steel frame. It is where the canopy loads will transfer into the building.
A glass canopy introduces dead load from the glass and hardware, live load from maintenance, and environmental loads from wind, rain, and, in some locations, seismic movement. Those forces must travel through engineered fittings and anchors into a suitable structural substrate. Decorative fascia, stone veneer, exterior insulation systems, and typical stucco finishes are not structural attachment points.
The glazing contractor, architect, structural engineer, and general contractor should establish this load path before exterior finishes are completed. In a custom residence, this may mean locating concealed steel blocking within a framed wall, coordinating embedded plates in concrete, or detailing a custom support structure behind cladding. On an existing home, exploratory work may be necessary to confirm what is actually behind the finished surface.
This early coordination protects both the appearance and performance of the project. It avoids oversized surface plates, improvised shims, exposed patching, and hardware placed where it interrupts the architectural composition.
Choose a Support System That Fits the Design
Most premium glass canopies fall into one of three categories. A point-supported system uses tension rods or cables extending back to the structure, creating a light, floating appearance. Bracket-supported canopies use engineered metal arms below the glass and can suit more traditional elevations or shallower projections. Framed systems use steel or aluminum members around or beneath the glass, offering greater flexibility for larger spans, integrated drainage, and complex geometry.
The right system depends on projection, span, wall construction, local exposure, and visual intent. A rod-supported canopy can appear nearly weightless, but it requires properly located upper anchorage and careful adjustment. A framed canopy may be more visually substantial, but it can manage broad openings and concealed drainage more effectively. Neither approach is inherently superior. The engineering and detailing must suit the building.
Specify Glass for Safety, Stiffness, and Clarity
Canopy glass is not a place for ordinary annealed glass or a generic thickness selected by appearance. It is typically laminated safety glass, often with heat-strengthened or tempered lites, engineered to satisfy the project’s span, support conditions, and design loads.
Laminated construction holds fragments together if breakage occurs. That retained-glass performance is fundamental for overhead applications, where the risk profile differs from a vertical window or railing. The interlayer also affects appearance, ultraviolet performance, and long-term behavior. Clear interlayers provide a clean, open look, while specialty interlayers can help address solar heat, glare, or aesthetic goals.
Glass thickness is a structural decision. It should be determined by engineering calculations, not by a rule of thumb based on a nearby project. Deflection is part of that conversation. Even when a panel meets strength requirements, excessive movement can look unsettling, strain sealant joints, alter drainage, or create undesirable stress at fittings.
For ocean-view homes, visual quality deserves equal attention. Low-iron glass can reduce the green cast visible at exposed edges, especially where panels are thicker. Polished edges, carefully aligned holes, and precise fit around point fittings are details that distinguish architectural glazing from commodity work.
Consider Shade, Heat, and Maintenance Early
A transparent canopy preserves daylight and views, but it does not eliminate solar heat. The orientation of the opening, the depth of projection, and the reflective qualities of adjacent stone or paving all affect comfort below it. In some cases, a frit pattern, tint, or a more opaque interlayer may be appropriate. Each choice changes the canopy’s visual weight and should be reviewed through physical samples whenever possible.
Maintenance also deserves a candid discussion. Coastal salt residue, pollen, dust, and hard-water spotting can collect on horizontal glass faster than on vertical glazing. Easy access for cleaning should be considered during design, especially for canopies above tall entries or landscaped areas. Protective glass treatments may help reduce adhesion of mineral deposits, but they do not replace sensible drainage and routine care.
Plan Slope and Drainage Before Fabrication
Water is the detail that reveals whether a canopy was truly designed or merely assembled. Flat-looking glass should still have a deliberate slope that directs water away from the wall and toward a controlled edge. The required slope varies with the system and project conditions, but standing water should never be accepted as normal.
A canopy’s outer edge may shed water freely, incorporate a drip detail, or drain into a concealed gutter. The decision depends on what lies below. Water falling at an entry threshold, near a wood door, over delicate landscaping, or onto a walking surface can create problems far beyond the canopy itself.
At the wall, flashing and waterproofing must integrate with the building envelope. Sealant is a joint component, not a substitute for properly lapped weather barriers and flashing. This is particularly critical where a new canopy is added to an existing stucco, stone, or siding assembly. Penetrations need to be carefully sequenced, flashed, sealed, and inspected before finishes are closed.
The Glass Canopy Installation Guide: Field Sequence Matters
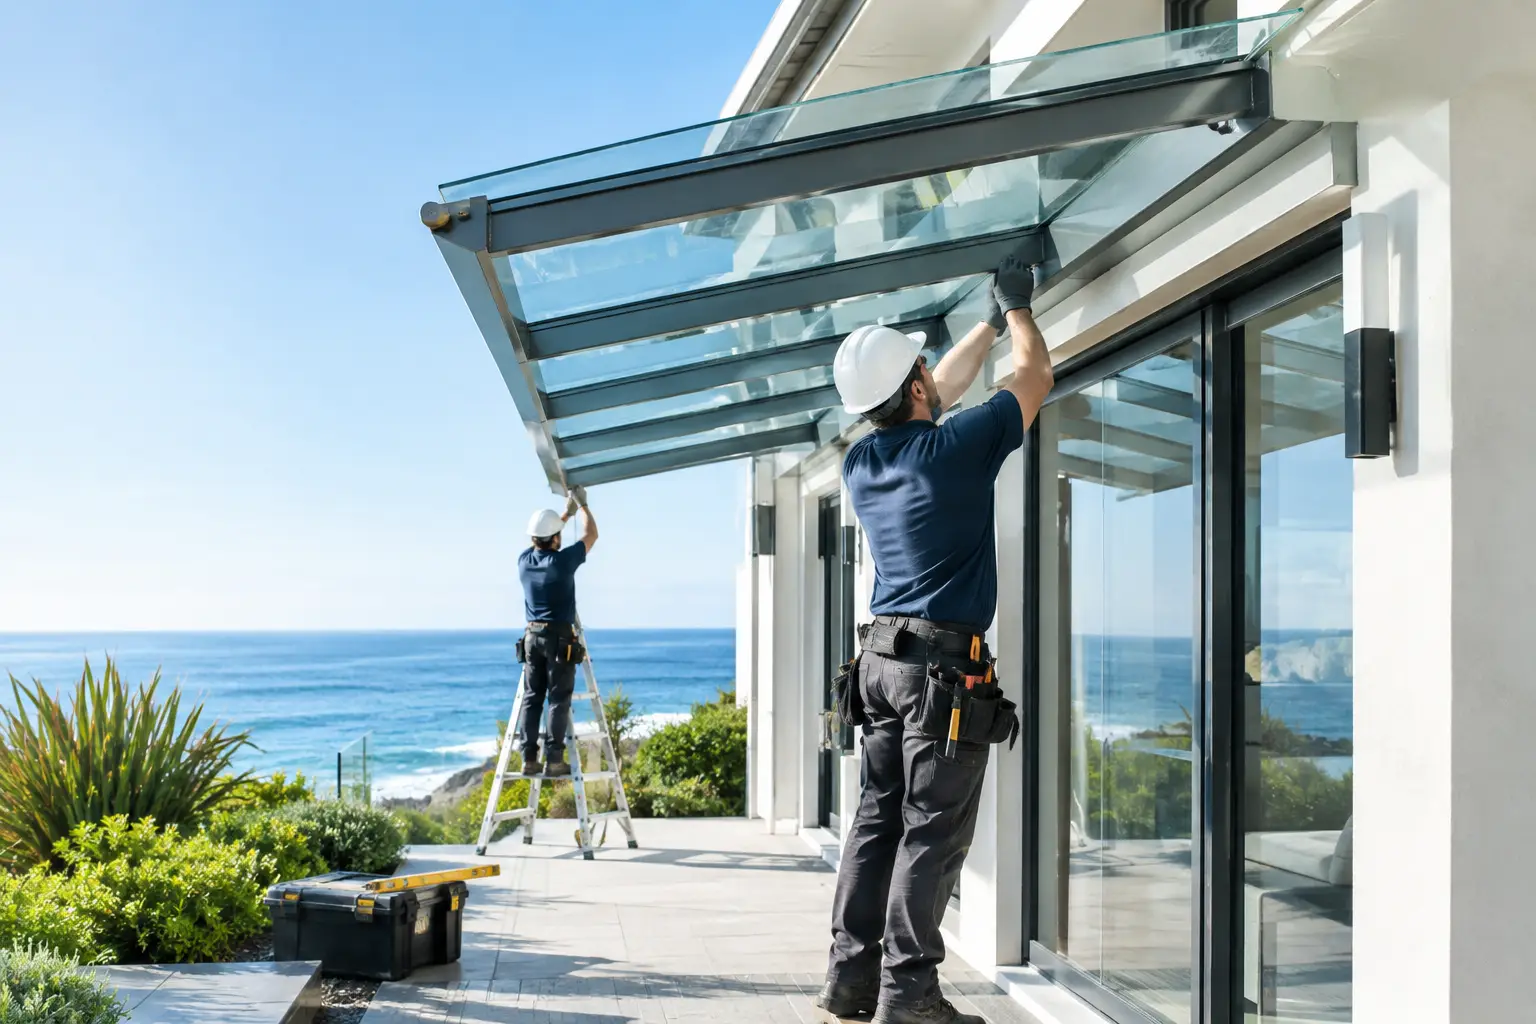
Once engineering, shop drawings, glass specifications, and permits are complete, installation becomes a controlled exercise in measurement and sequence. The site should be field-verified before fabrication. Finished cladding dimensions, wall plumb, door swings, elevation changes, and the location of structural blocking all need confirmation. Glass cannot be casually trimmed on site to correct an inaccurate opening.
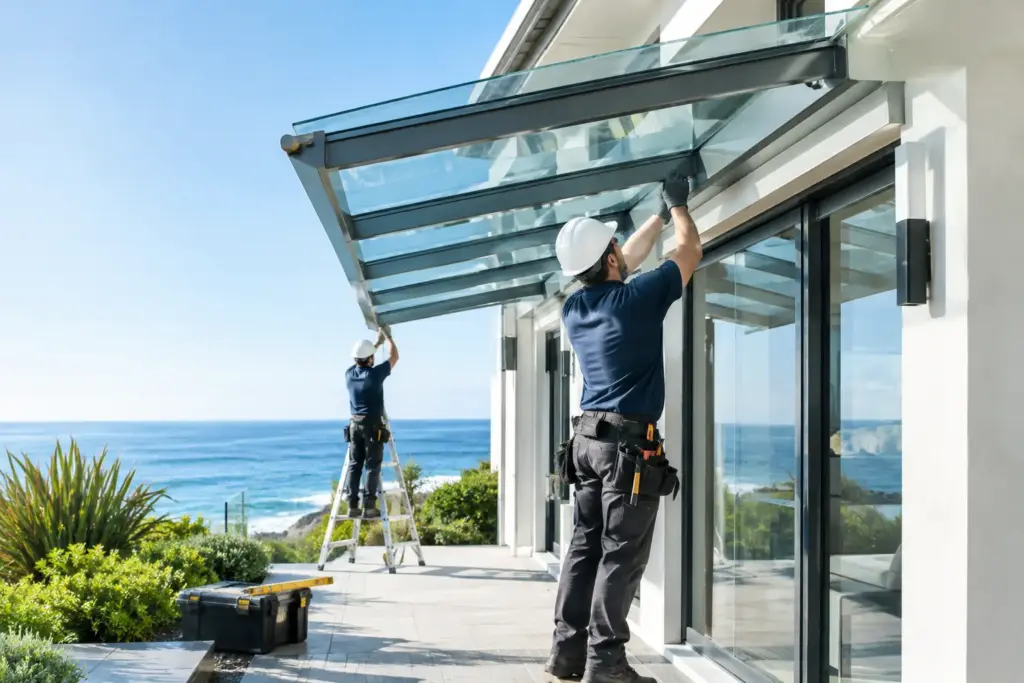
The typical installation begins with layout and verification of anchor locations. The crew then installs structural plates, brackets, or rod anchors according to approved details, using the specified fasteners and installation procedures. Hardware alignment is checked before glass arrives. A few degrees of variation at a support point can become conspicuous across a broad, reflective panel.
The glass is set with appropriate lifting equipment and handling practices. Setting blocks, gaskets, isolators, and bushings separate glass from dissimilar materials and control point loads. Glass-to-metal contact without the correct isolation can lead to edge damage or stress concentrations. Fittings are tightened to the manufacturer’s requirements, not simply made as tight as possible.
Final adjustments establish consistent panel alignment, designed slope, and clean joint spacing. Sealants are applied only after surfaces are properly prepared and joints are configured for the intended movement. The work should then be inspected for water-shedding behavior, hardware finish protection, glass edge condition, and the quality of every visible sightline.
Permits, Code Review, and Professional Responsibility
A canopy project may require permits and plan review depending on its size, location, structural attachment, and jurisdiction. The applicable building code, local amendments, wind criteria, safety-glazing requirements, accessibility considerations, and property-specific conditions all inform the final design.
For homeowners, the practical takeaway is simple: do not treat a glass canopy as a decorative accessory installed after construction. Treat it as a small structural system connected to your home. The contractor should be licensed, properly insured, experienced with overhead glazing, and comfortable coordinating with architects, engineers, and municipal reviewers.
This level of discipline is especially valuable on specialty projects with curved elevations, deep overhangs, stone façades, oversized pivot doors, or exposed coastal sites. Since 1979, Capistrano Valley Glass & Mirror has approached architectural glazing with that same premise: the details behind the finished glass are what allow the finished glass to look effortless.
Questions to Resolve Before You Approve the Work
Before release to fabrication, ask where the load transfers into the structure, what laminated glass build-up has been engineered, how rainwater leaves the canopy, and how wall penetrations are waterproofed. Confirm the selected hardware alloy and finish are appropriate for the environment, particularly near the coast. Also clarify cleaning access, warranty responsibilities, and who verifies dimensions after exterior finishes are complete.
A worthwhile glass canopy should feel inevitable once installed: clear enough to preserve the architecture, strong enough to perform quietly, and detailed well enough that water, wind, and time do not expose shortcuts. The best next step is to review the actual elevation, wall assembly, and structural conditions with a specialty glazing professional before the design is committed to glass.