
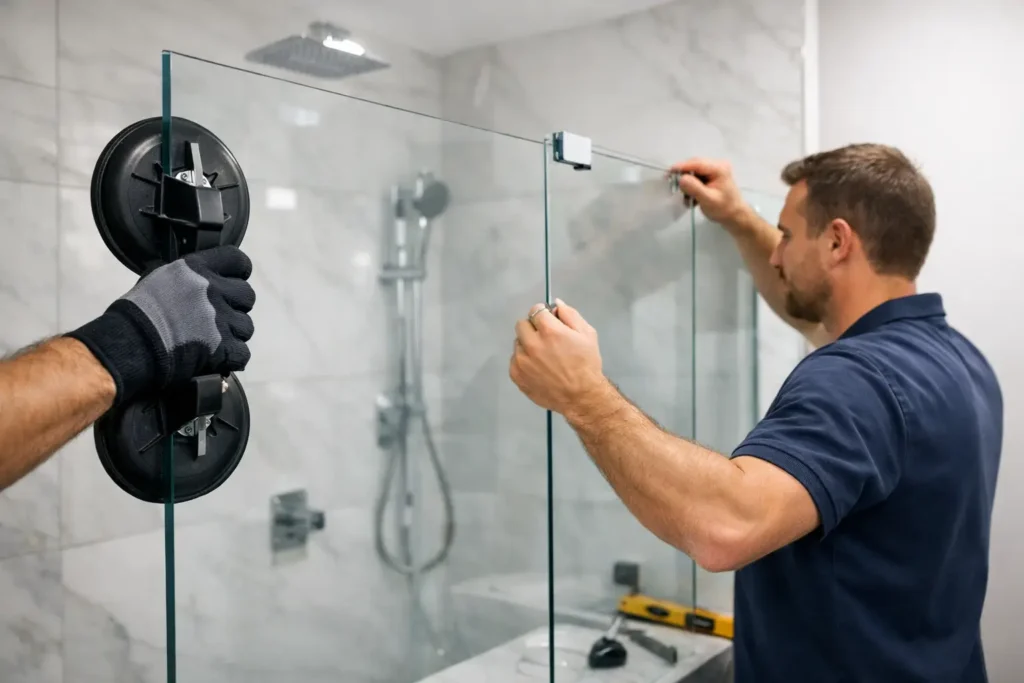
A frameless shower enclosure can make a finished bath feel larger, calmer, and more architectural. But frameless shower enclosure installation is not a final-stage accessory that can be selected from a catalog and fitted casually around tile. The glass, hardware, wall conditions, waterproofing, and daily use of the room must work together from the first field measurement.
In a high-end bath, the difference is visible. A well-executed enclosure sits cleanly within the tile layout, opens with a controlled, substantial feel, and contains water without relying on bulky channels or excess silicone. A poorly planned enclosure reveals itself quickly through uneven gaps, doors that drift, hardware that strains, and water escaping at the threshold.
Frameless Shower Enclosure Installation Starts With the Opening
The finished opening determines nearly every decision that follows. Measurements should be taken only after wall tile, stone, curbs, and shower pans are complete. Glass cannot be trimmed on site once it has been tempered, so dimensions must account for the actual conditions of the completed room, not the dimensions shown on an early plan.
Walls are rarely perfectly plumb, even in carefully built homes. Tile can vary in thickness. Natural stone may have a subtle face variation, and a curb may carry a slight slope toward the drain. These conditions are manageable when identified during templating. They are far more difficult to resolve after fabrication.
A professional field measure documents wall plumb, curb level, opening width at several points, glass-to-glass intersections, and the exact position of hinges, clips, channels, and handles. It also considers practical clearances: whether a door can swing without contacting a vanity, toilet, towel bar, or adjacent glass panel.
Why Finished Tile Matters
The shower enclosure should follow the finished architecture, not force the architecture to compensate for the enclosure. Measuring after tile work is complete allows the glazing team to assess the actual plane of the walls and align glass edges with grout joints, stone seams, or other deliberate visual lines where appropriate.
This is especially relevant in baths with book-matched slab walls, oversized porcelain panels, linear drains, or minimal curbs. These materials create a refined backdrop, but they leave little room for visual correction. The enclosure must be designed with the same discipline as the rest of the room.
Glass Thickness and Hardware Are a Single System
Frameless does not mean unsupported. It means the structural support is expressed through carefully selected heavy glass and purpose-built hardware rather than a perimeter metal frame. In most residential applications, 3/8-inch or 1/2-inch tempered safety glass is used, depending on panel size, door weight, configuration, and engineering requirements.
Thicker glass has a more substantial appearance and feel, but it is not automatically the right answer for every opening. A larger, heavier door places greater demand on hinge locations and backing within the wall. The correct selection depends on the enclosure design, not simply a preference for the heaviest available material.
Hardware deserves the same attention as the glass. Hinges, clamps, handles, and support bars should be selected for their load capacity, finish quality, and compatibility with the room’s other metalwork. Polished chrome, brushed nickel, matte black, brass, and custom finishes can all be appropriate, but finish selection should be coordinated early. Premium fixtures, lighting, and shower hardware can make a near-match look like a mismatch.
The Wall Behind the Tile Is Critical
Glass hardware fastens through tile or stone into solid structural backing. This requirement should be addressed before the walls are closed. Inadequate blocking behind a planned hinge or fixed-panel clamp can limit the enclosure design, require visible support modifications, or create unnecessary risk.
A qualified glazing contractor coordinates with the builder, tile installer, and designer to establish hinge locations and backing requirements before installation. This is one of the quiet details that separates a tailored enclosure from a last-minute glass solution.
Water Management Is Designed, Not Assumed
No frameless enclosure is completely air-tight or water-tight in the way a framed unit with continuous seals may be. Small, intentional clearances are necessary for door movement and glass tolerances. The goal is not to eliminate every gap. The goal is to direct water where it belongs and create an enclosure appropriate to the shower’s spray pattern and use.
A fixed panel with a wide opening can be striking in a large, well-designed wet room. It may also be the wrong choice for a compact shower with a high-output rain head aimed toward the opening. In that case, a return panel, a door, a lower sweep, or a revised showerhead position may be needed to keep water contained.
The curb and shower floor also matter. A properly sloped curb returns incidental water to the shower side, while the shower floor should direct water efficiently to the drain. An enclosure cannot correct a pan that drains poorly, nor should silicone be used as a substitute for sound waterproofing and slope.
Door sweeps, jamb seals, and discreet threshold seals can improve water control without compromising the clean appearance people expect from frameless glass. Their use depends on the configuration. A skilled installer will recommend them where performance calls for them rather than treating every enclosure identically.
Design Choices Should Follow How the Shower Is Used
The most visually minimal enclosure is not always the most practical. A single fixed panel may suit a spacious primary bath where the shower is entered from a protected side and spray is carefully contained. A hinged door may be the better choice for a family bath, a coastal guest suite, or any shower where users expect a warmer, more enclosed experience.
Door swing requires particular attention. An outward-swinging door is generally preferred for safety because it can be opened if someone falls inside the shower. However, the available clearance outside the shower may affect the final configuration. In certain layouts, an in-and-out swing hinge or a fixed-panel-and-door arrangement provides the better balance of access and function.
For luxury residences and hospitality settings, maintenance should also inform the design. Fewer exposed channels can simplify cleaning, while carefully placed clips and hardware make the glass feel lighter. At the same time, a design with too many tight corners or difficult-to-reach seals may be less practical for a frequently used bath.
The Installation Requires Precision at Every Stage
Once the glass is fabricated, installation is a controlled sequence. The team protects finished floors and surfaces, confirms dimensions again, sets fixed panels plumb, aligns hardware, hangs and adjusts the door, then installs the appropriate seals and silicone. Every gap is intentional. Every edge relationship should look considered from both inside and outside the shower.
Silicone must be applied cleanly and allowed to cure fully before the enclosure is used. Rushing this stage can compromise water performance and leave a poor visual finish. Homeowners and project teams should confirm the cure period with the installer before scheduling final cleaning or occupancy.
Capistrano Valley Glass & Mirror approaches shower glass as architectural glazing, with the field verification and fabrication discipline that custom work requires. That approach is particularly valuable when a bath includes out-of-plumb walls, unusual angles, floor-to-ceiling glass, steam-shower conditions, or materials that cannot tolerate careless drilling.
Protecting the Glass After Installation
Southern California water can leave mineral deposits and etching on shower glass, particularly in homes with hard water or baths that receive heavy daily use. A squeegee after each shower remains one of the simplest ways to reduce spotting. Regular cleaning with products suitable for glass and hardware will also preserve clarity and finish.
Protective glass treatments can add another level of defense by helping water and mineral residue release more easily from the surface. They are most effective when applied to clean, new glass and maintained according to the treatment manufacturer’s guidance. For existing enclosures affected by mineral buildup or surface deterioration, professional restoration may be a practical alternative to replacement when the glass itself remains structurally sound.
The right enclosure should look quiet within the room because the technical decisions behind it have been handled correctly. Before finalizing a design, stand in the completed or mocked-up space, consider where water will travel, where the door will swing, and how the glass will be maintained years from now. Those few decisions are where lasting craftsmanship begins.